Kotelio is your home-made plan software: from the survey traced over a PDF to a furnished multi-storey project in Sweet Home 3D.

Undo / Redo (Ctrl+Z / Ctrl+Y) repair everything — 80 steps back. Save downloads a backup copy (.json), Open loads it back.
Everyday tools first, then structure, fit-out, furnishing.
Five moves are enough: hover, click, right-click, Shift+click, and pulling the dots. Everything else follows.
On an element: quick menu — thickness, door swing, copy to the storey above, delete. Held on empty space: X-ray, your drawing fades to see the PDF sharp underneath (the “Check” button does the same in 3 views).
Ctrl+drag from empty space: the selection box opens, every touched wall is caught. Or Shift+click on each wall, like in Windows Explorer. (By finger: hold ½ second, then drag.) Then: dragging moves it all, Del erases it all, the panel sets the shared thickness.
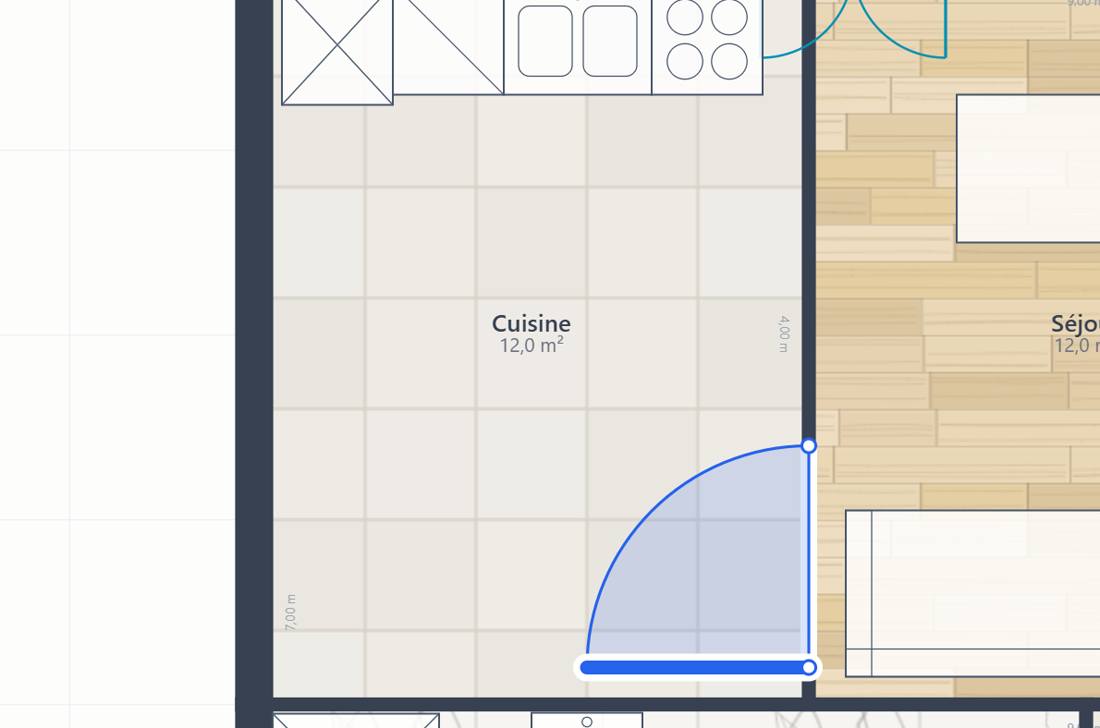
Pull the dots at a wall's end: near the axis it stays straight, move well away and it tilts. The dot sitting on a corner (little-hand cursor) moves the whole corner — walls stay welded, and the protractor appears: the angle in degrees, live in the corner. An end reaching another wall stops at its face, never inside: the dimension stays clean. Alt = detach everything, free everything. Doors and windows have dots too: pull one end, the width changes, the other end stays put (p.8).
Wheel = zoom to the cursor · with Move, just drag empty space = the view pans (with a drawing tool: Ctrl+drag) · “Fit all” reframes. Zoom in = be precise: snapping works in screen pixels, a wall tilts by 1° with no “jump”.
A window placed where a wall lands in its span (it would open against it), a door overlapping its neighbour or overhanging the wall: Kotelio says so and asks “Place anyway?” — one click and it's placed, because you know the job. Same when moving: the ⚠ bubble warns, ↶ Undo repairs.


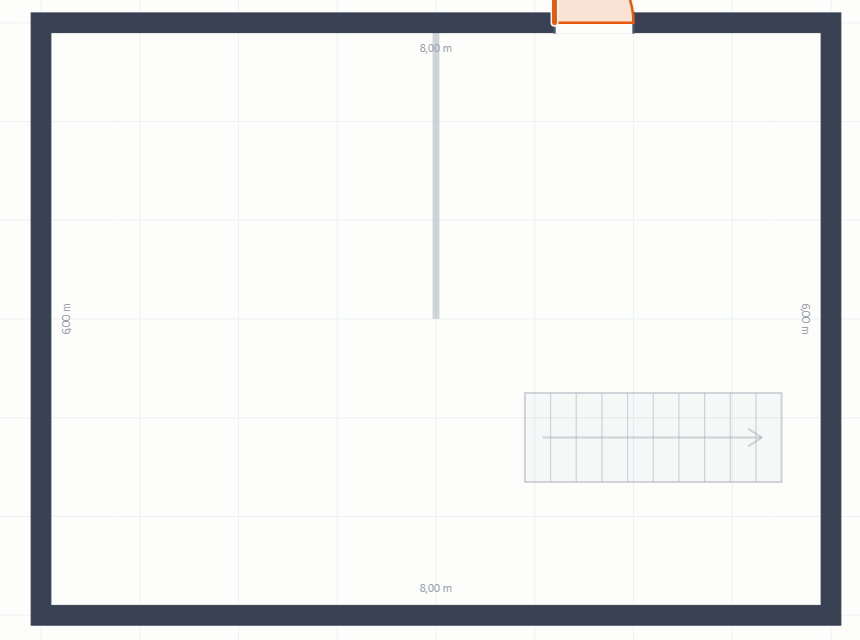
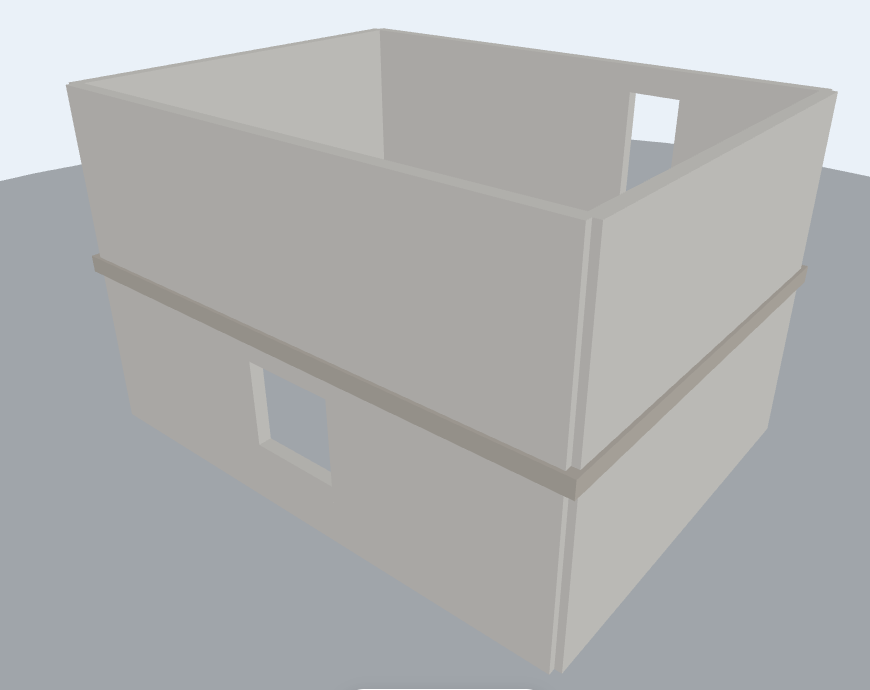
Raise a storey on your outer walls in two clicks, draw aligned over the greyed storey below, place the stair — and 3D stacks it all.
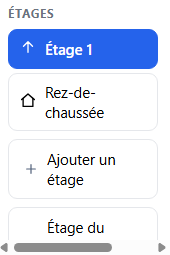
Left column, STOREYS section: one chip per level, click to go there. Right-click = rename; an empty storey shows a cross to delete it.
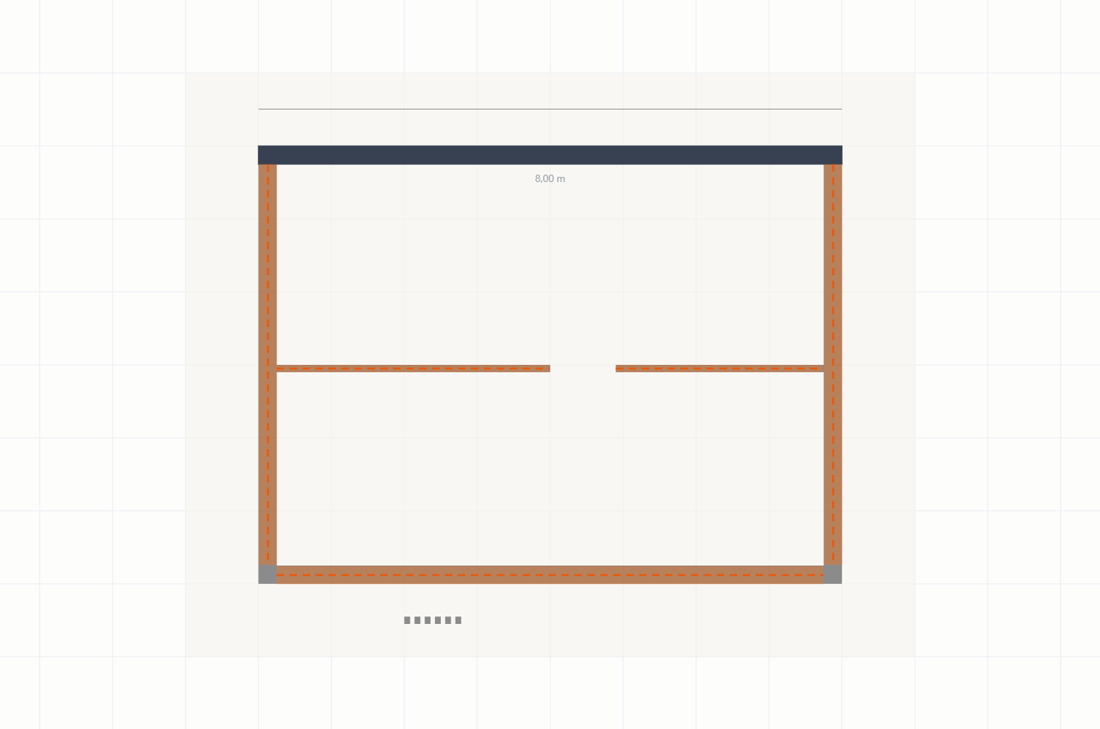
Select your outer walls (Shift+click or box) → right-click → “Copy these walls to the storey above”. Kotelio creates the storey if missing, skips duplicates and takes you there. The “Add a storey” button also offers: empty, copy the walls, or walls + doors + windows.
Upstairs, switch on “Show storey below”: the level beneath appears light grey under your drawing — partitions and spine walls land exactly right.
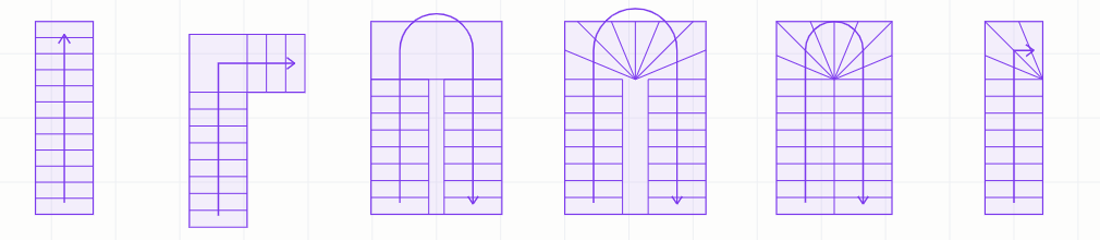
Place it, then its card does the rest: three shapes (straight, quarter turn, spiral), two directions (↑ up / ↓ down — on the top storey it goes down by itself), width, angle. The stairwell opening shows dashed on the arrival storey and 3D pierces the slab — full detail p.8.


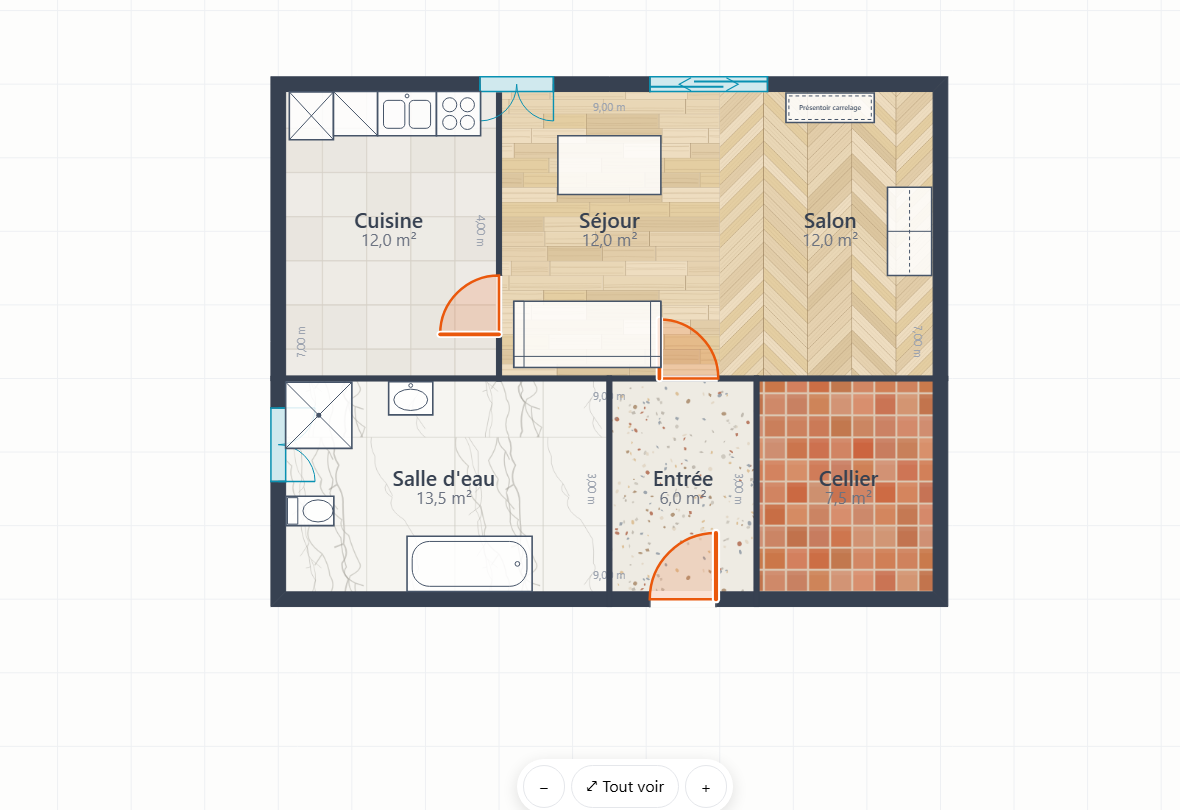
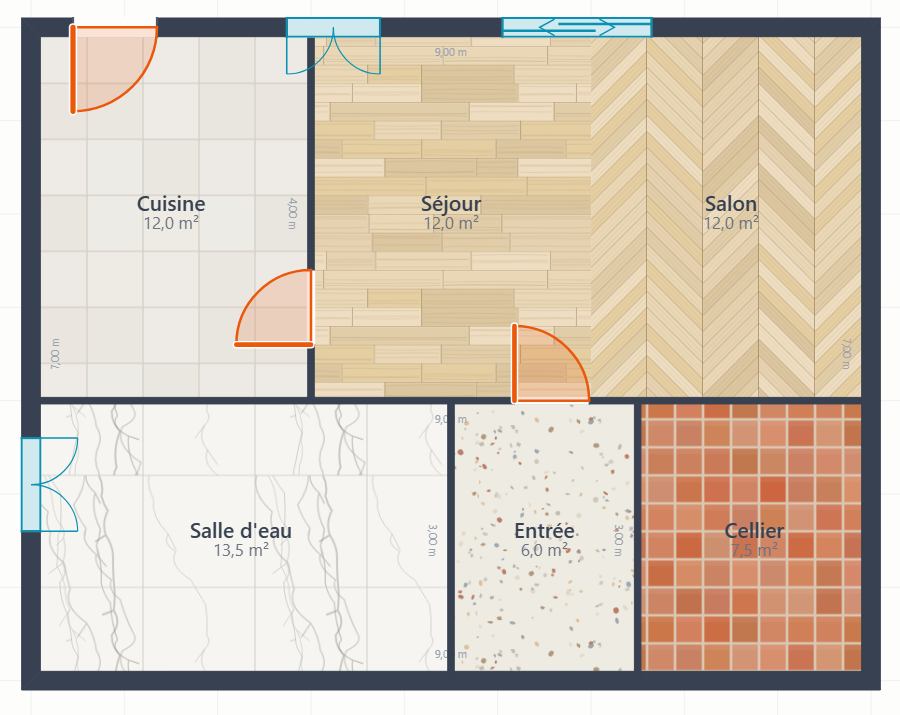
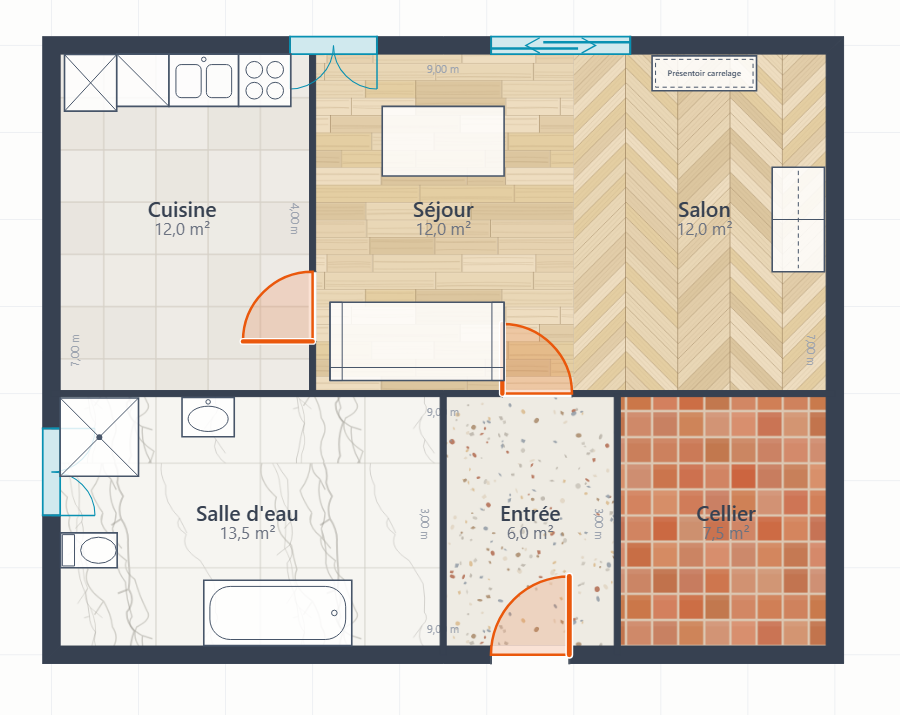
Room tool, click inside a closed area: computed area, name, and the floor choice — a plain colour, or one of ten materials:
Change any time: click the room, the panel shows the floor chips. Materials carry into PNG and PDF exports, into 3D — and the matching shade goes to Sweet Home 3D. Splitting into zones: the Divider tool (T) draws a thin line, straight or curved, wall to wall — then click each zone with Room: separate areas, ready for the takeoff tables.

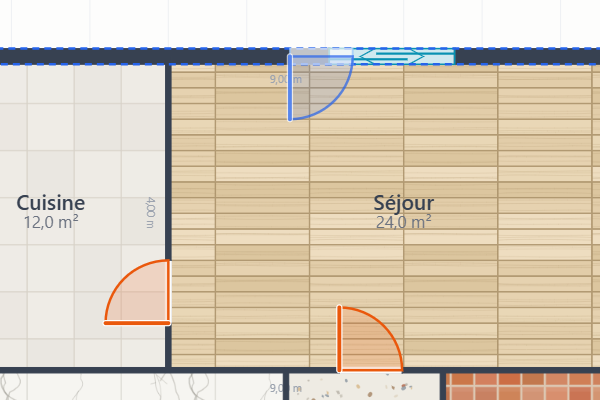
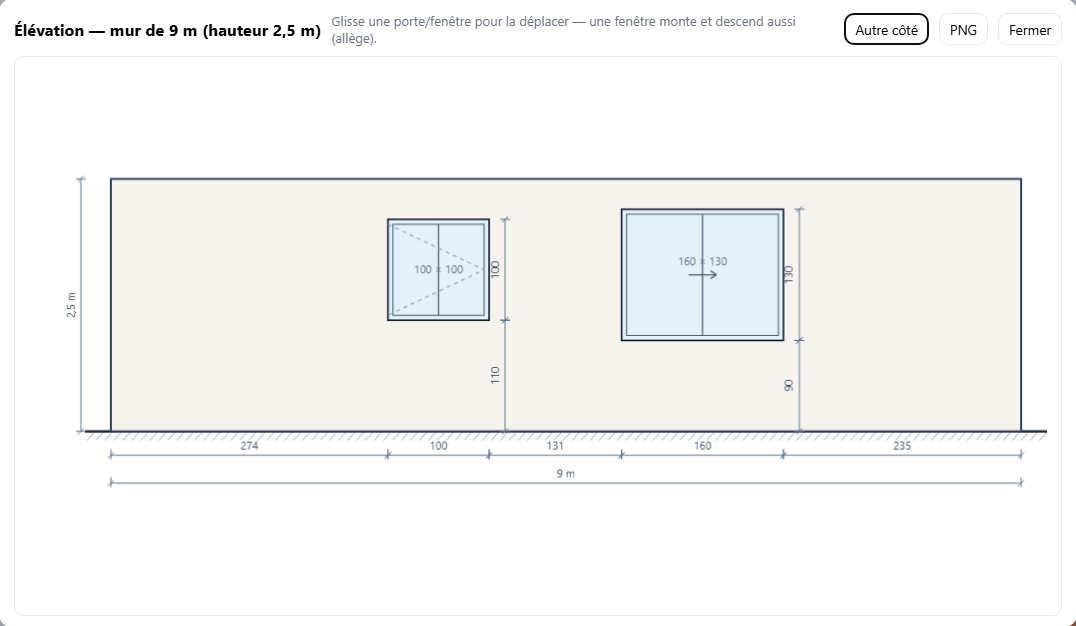
Right-click a wall → “Elevation” (also in the wall, door or window panel): the wall shows face-on, openings in their true place, with all the dimensions — floor chain, wall height, sill heights.
Drag a door or window to move it along the wall; a window also moves up and down — its sill follows. Click it: the bottom bar gives exact values (left edge, width, height, sill), to the centimetre.
The title names the side you face (“Kitchen side”) and the button offers the other: “See the Living-room side”. Walls leaving this one appear in section — hatched if they come towards you, dashed if they go behind. “PNG” saves the image; heights and sills carry into 3D and Sweet Home 3D.

Furniture tool (key B): the catalogue unrolls in the column, in collapsible families — kitchen, bathroom, furniture, office, and outdoor (pool, spa, sun lounger, table + parasol, barbecue, tree, hedge). The search field speaks job-site language: “fridge”, “closet”, “toilet”… the whole catalogue at once. Pick one, the preview follows your mouse: R (or the menu's ⟳ Rotate button, handy by finger) to rotate, click to place. Near a wall, the item snaps against it, back to the wall, and slides along the face (Alt = free). Right-click = rotate / duplicate / delete, panel = exact dimensions.
Something not in the catalogue (display stand, kiosk, machine…): “Photo object” — name, dimensions, and a photo that dresses the object in 3D, at true size.
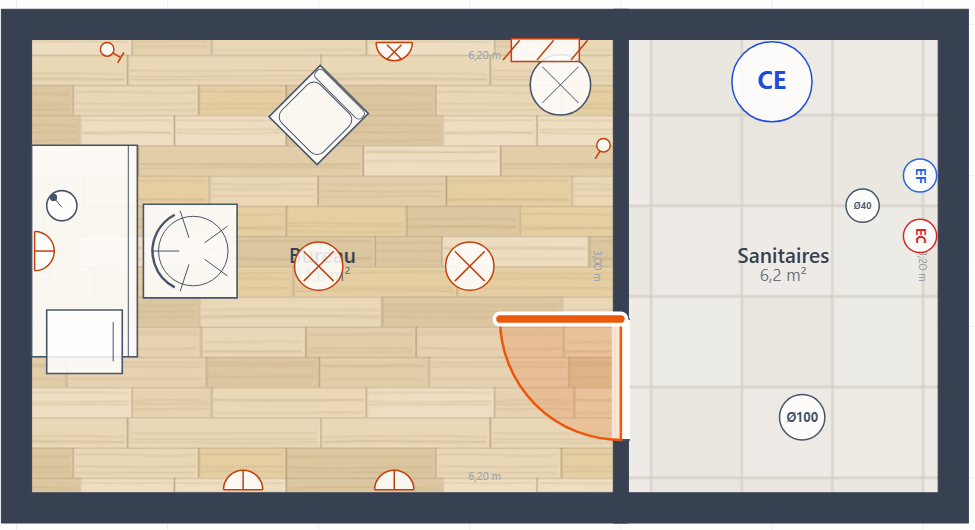
Fixtures tool (key E): outlets, switches, ceiling lights, wall lights, panel, EF/EC water supplies, drains, water heater — and the Air conditioning family: wall split, ceiling cassette, ducted unit, grilles, outdoor unit. Chained placing (Esc to finish), fittings snapped to the wall with their axis height shown on elevations. Everything is counted room by room in Areas & openings (+ CSV), DXF layers ELEC / PLOMB / CLIM — and the 3D night lights up at your ceiling lights.
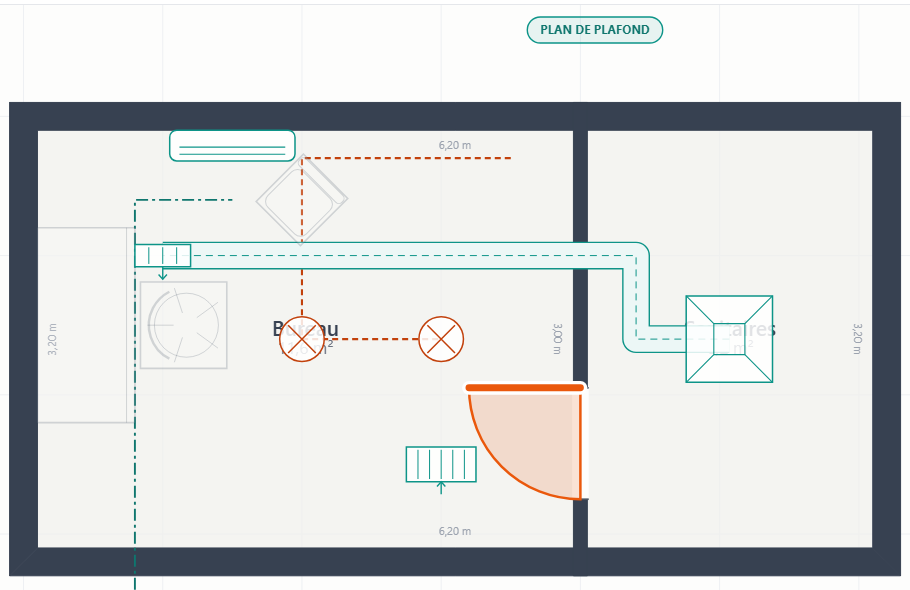
Duct tool (key C): electrical conduit, AC duct drawn at its true width, refrigerant line — one click per bend, double-click to finish. Lengths count themselves, in linear metres per type, in the takeoffs and the CSV. Finally, the Ceiling button (top bar) switches to the ceiling plan: lights, ACs, grilles and ducts stay, low fittings hide, furniture fades — printing and exports follow what you see.


A plan photo shot at an angle on site is as good as a scan — once laid flat again. Four clicks, two dimensions, and the sheet is straight, already to scale.
While drawing, your point jumps to the nearest dark line of the backdrop: you trace without shaking, even by finger on the phone. The “Snap to plan” button turns it off and back on.
Scale set? Click “Suggest walls”: Kotelio spots the backdrop's thick dark lines — the filled walls — and offers them in orange, at their true thickness. Dimension lines, text and furniture are ruled out, and door openings stay open.
One click on an orange wall removes it (click again: it's back). Then “✓ Add them”: they become real walls, dimensioned, joined — the bulk of the tracing is done. Adjust the ends by their handles, place doors and windows.

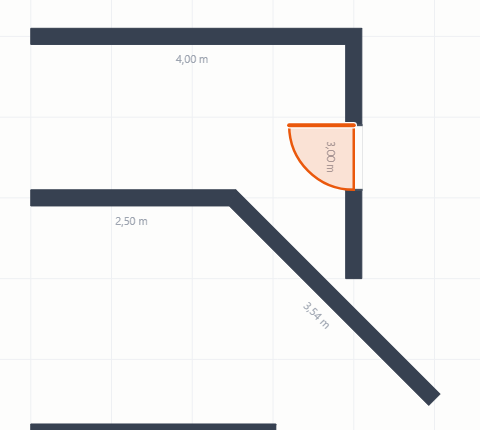
Select a door or window: two dots at its ends. Pull one: the width changes in 5 cm steps (Alt = by the cm), the other end stays put — sized to spec in one move.
Right-click a wall → “Split the wall here”: cut in two at the click point, each section gets its own card (thickness, material, lock) — and doors stay exactly in place.
Right-click the Wall tool: choose the next walls' thickness (5 to 80 cm) — remembered from one session to the next.
Plan clean? Right-click → “Lock” on a wall, door or window — or the “Lock / unlock structure” button (HELP section) for the whole storey: nothing moves any more, even by finger on the phone — furnishing stays free. Right-click → “Unlock” to take back control.

Click a placed stair, its card offers the building-drawing shapes: Straight, Quarter turn (winders), L-shaped with landing (right-angle return, Length 2 = the exit flight), Winder U-turn (the Well field sets the gap between flights — 0 = stringer on stringer), U-shaped with landing, Spiral. And the direction: ↑ Up / ↓ Down — placed on the top storey with a level below, it goes down by itself.
The arrow always shows the way up (the standard) — going down it points towards you, with a small desc. On the arrival storey, the stairwell opening shows dashed; in 3D the slab is truly pierced.


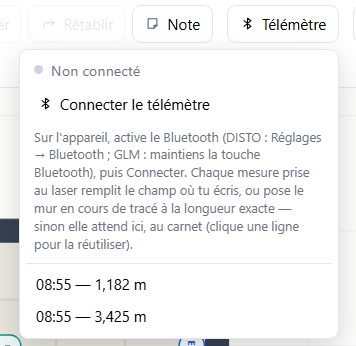
Pair your Leica DISTO or Bosch GLM over Bluetooth: every press on the device's button sends the reading straight into the plan. On-site surveying, no keypad.
A wall is being drawn (same for a divider or duct): the segment lands at the laser's exact length, in the direction your mouse points — and the chain goes on at the next corner. A field is active (window width, sill, backdrop scale…): the value writes itself there. Otherwise: it waits in the Laser meter panel's log — click a line to reuse it.

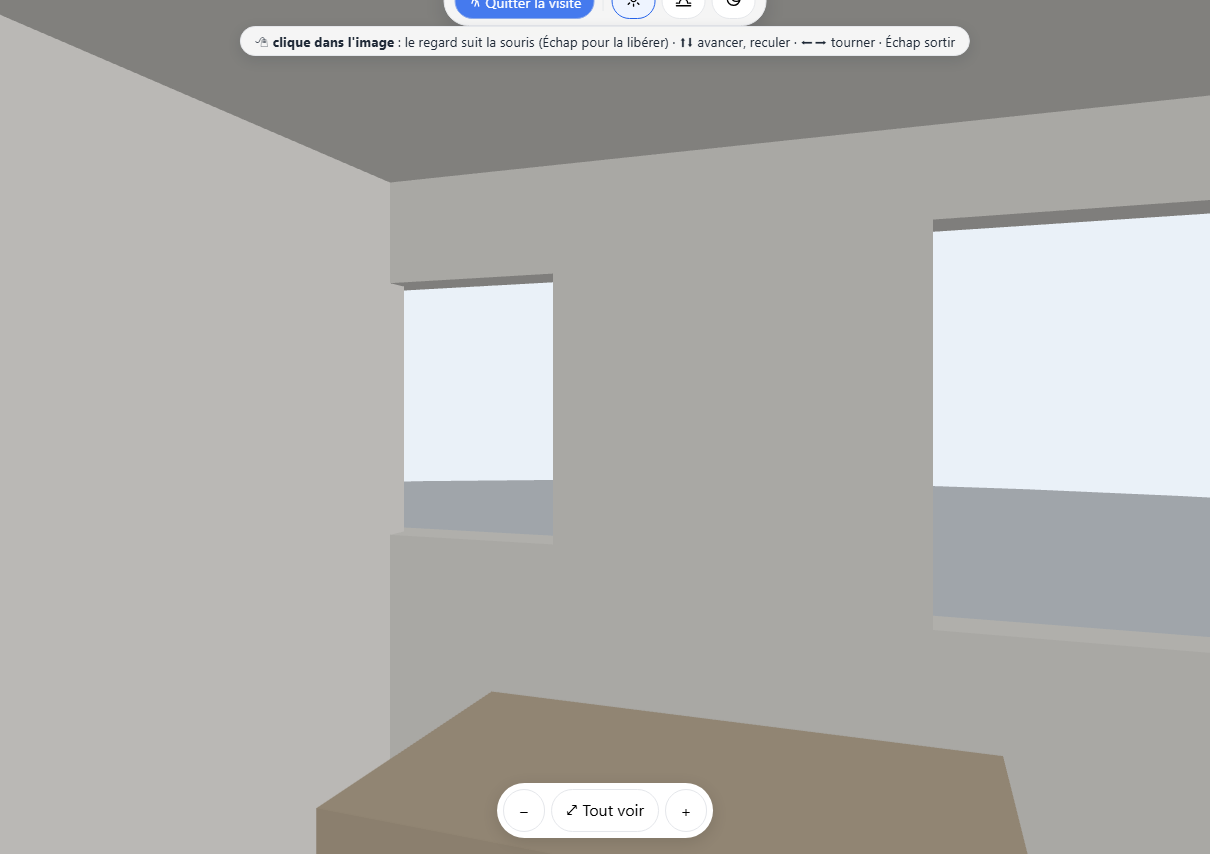
A tour of the property before the first wall exists: the argument every client understands. And the walls are solid: no more walking through them — you go through doors and full-height bays, and you slide along partitions.
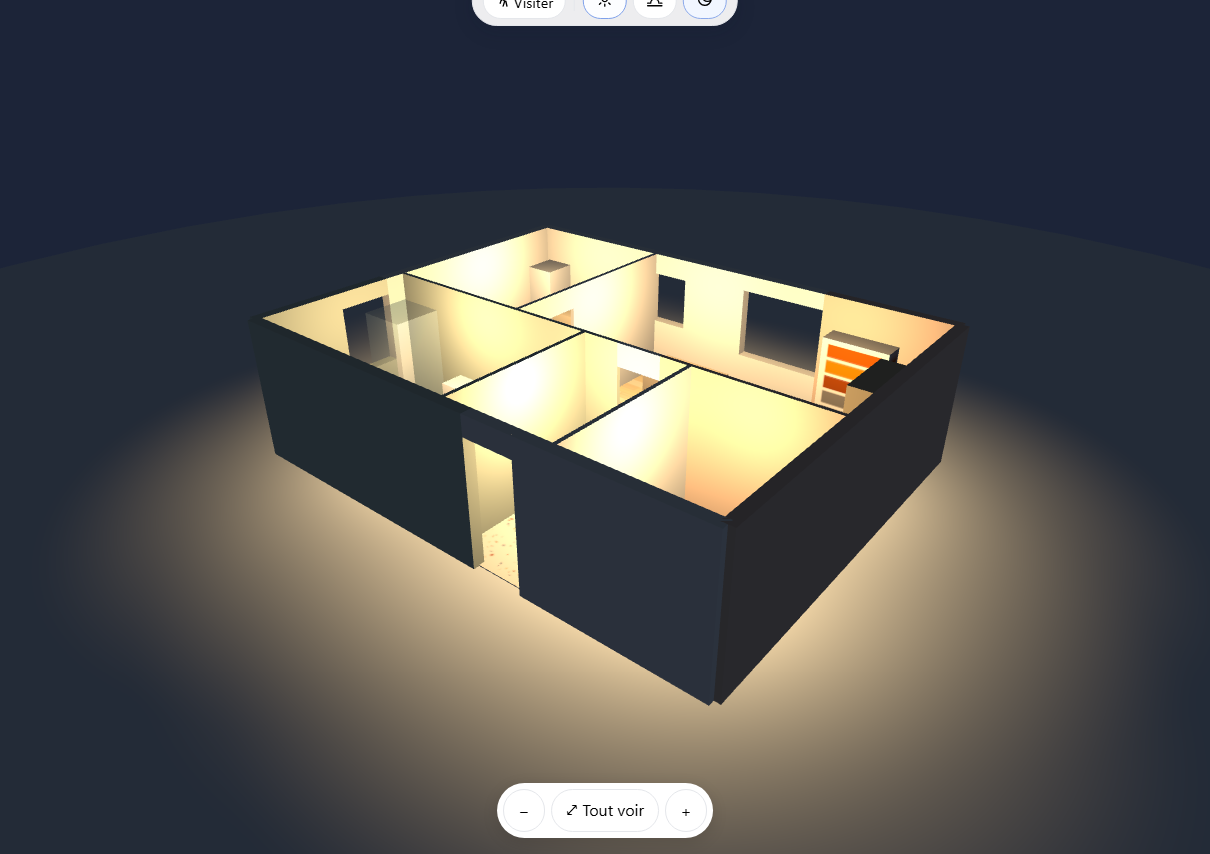
In the 3D view, click “Walk through”: you're IN the plan, at eye level, ceilings included. Z Q S D or the arrows to walk, drag the mouse to look around, Esc to step out. The walkthrough starts in the largest room of the shown storey.
The buttons at the top of the 3D change the light: full day, golden late day, or night — each room then glows with a warm light spilling out of the windows. If you placed ceiling lights (Fixtures tool), the room lights up at their exact spots. Ideal for showing a project in its best light.
Click a room (Move tool): the panel offers wall shades — sage, terracotta, linen… The walls around the room take the colour in 3D, room side, walkthrough included. Click a WALL: its card paints the whole wall or ONE SIDE — sides carry the names of the rooms they face (“Kitchen” side, “Living room” side) and the targeted side lights up orange on the plan: living-room side white, kitchen side sage, just like on site. The card also offers a texture — brick, stone, concrete block, shuttered concrete, timber cladding, floated render — mapped on that wall in 3D at real scale (each side's shade combines). Enough to show the living room's stone wall or the clad extension, on a walkthrough at the client's.
On the phone — iPhone and Android — the VR button in the 3D bar splits the screen in two: slide the phone into a cardboard-style headset (a few euros), turn your head to look — the gyroscope follows — and hold the screen (the headset's trigger presses for you) to walk. ✕ to exit. iPhone asks a “Motion & Orientation” permission at first launch: tap Allow.


An idea, a bug, a doubt — tell me in our chat: it's your software, it grows with you. The manual updates along with it (“Open the manual” button, left column).
Click a tool: its settings unroll just below — no more window hiding the plan. You choose before placing:
Wall — thickness (chips 5 to 40 cm or free), type Standard / Glass partition, “Rises up to…”: Ceiling, or a LOW WALL of 80 / 100 / 120 cm or free (guardrail, bar, garden wall — lighter fill in 2D, at its height in 3D, in elevations and Sweet Home 3D; the wall's card also has a Height field), and the project ceiling height (that's the height of the walls!).
Window — fixed, casement, sliding + width.
Door — casement, sliding, pocket + building widths (63, 73, 83, 93…).
Stair — the 6 shapes: straight, quarter turn, L-shaped with landing, U-shaped with landing, winder U-turn, spiral.
Fixtures — the catalogue in collapsible families (Electrical, Plumbing, Air conditioning).
Duct — electrical, AC or refrigerant line, one click.
Room — name a room, or the divider: straight (the middle handle curves it) or freehand — draw it in one stroke, it smooths itself.
The plan that ships is dimensioned. On PDF printing, the “Dimension the plan” box adds the outer walls' dimension chains (piers and openings split, 45° ticks) and the two overall dimensions. The DXF too, on its COTES layer.
Client file (PDF) — Export menu: cover page, dimensioned plan of each storey, areas & openings, paint takeoffs, electrical pre-design — the full deliverable in one click.
Picking a plan back up: “Remove backdrop” keeps it in the project (“Restore removed backdrop” brings it back, scale included); “Fit to my drawing” lays the imported plan right onto your walls (2 points on the backdrop, the same 2 on your drawing); a free backdrop stretches by hand with its corner handles. “Suggest walls” understands double-line walls: one single wall, at the right thickness.
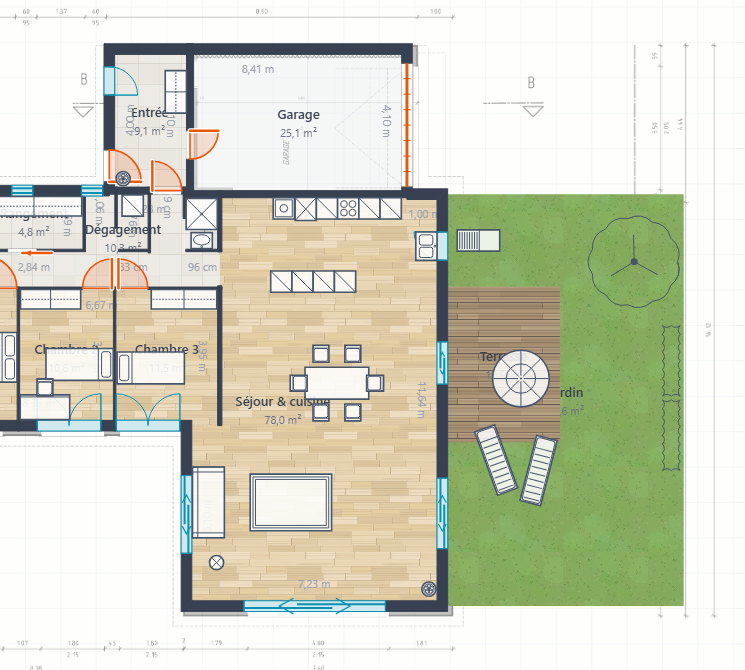
The column has its OUTDOOR group. The “Garden / terrace” tool outlines a zone outside, with no walls at all: click its outline point by point — the polygon fills with green as you go — then click the first point again (the big green dot) to close. Esc cancels an outline in progress.
The zone lives like a room: computed area, free name (Garden, Terrace, Path…), and the ground of your choice in its panel — lawn, timber deck, gravel, pavers — visible in 2D, in 3D and in the exports. Its shape is free: right angles or cut corners, up to you.
“Outdoor furniture”, just below, opens the catalogue straight on the Outdoor family: pool, spa, sun loungers, table + parasol, barbecue, trees, hedges, planters.
Outdoor zones show as “— outdoor” in the tables, but stay excluded from the area total, the paint takeoff and the AC sizing: the garden never inflates a living area. Their perimeter is counted — handy to price a fence.

The trial is Kotelio for real. No time limit, no account: a full project — walls, rooms, storeys, stairs, furniture —, the 3D and the walkthrough, the PDF or photo backdrop with scale setting, and the image & PDF exports. Enough to draw a whole house and truly judge.
The full version adds the production tools: electrical/plumbing/AC fixtures and ducts, ceiling plan and electrical panel, wall textures, takeoffs (areas, paint, openings), DXF export, the PDF client file, the unlimited project bank, the laser meter and the encrypted cloud.
Unlocking: click the DEMO badge at the top of the screen, enter your licence code, that's it. The code is checked only once (connection needed just then), then everything works offline, job site included. The plan begun in trial stays as it is: nothing to redo.